
Your MiSTer is built and you want to get cracking with the games, but you need to get some config done first. It’s reasonably straightforward, but there are a couple of details that are good to know, so this is a step by step of the initial config.
There are two approaches, both outlined on the official Wiki (https://github.com/MiSTer-devel/Main_MiSTer/wiki/Setup-Guide). I would consult there for more up to date documentation and downloads as well, but this is worth a skim at least. Note in both cases your SD card will be wiped.
Manual Install
Part 1: On Your Computer
The older method of setup is more manual. The wiki instructions are detailed enough, but there are a couple of things worth mentioning.
Firstly, get the latest installer from here: https://github.com/MiSTer-devel/SD-Installer-Win64_MiSTer
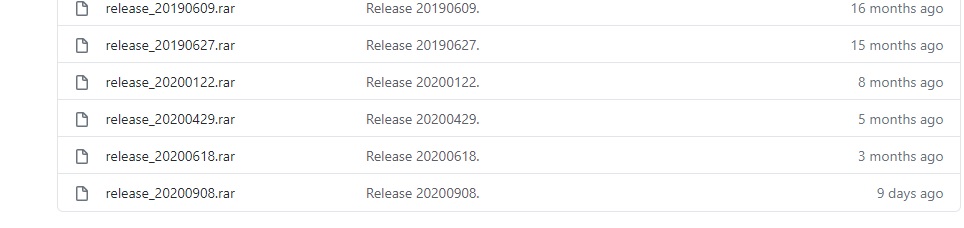
Scroll to the bottom of the list for the latest release, click the link and then click Download.

Expand the archive and run the Mister SD Card Utility.exe
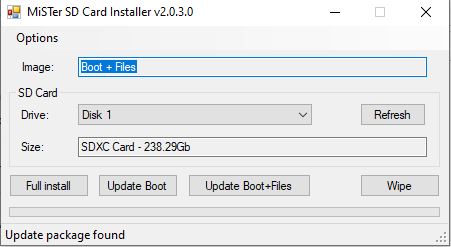
It may prompt you to run as admin, but that’s OK.
Hit Full Install and just cancel all the boxes that appear. Any boxes appearing saying a drive has to be formatted before use, cancel them. This is just non-Windows format partitions being created on the SD card.
If, however, you get a box saying something cannot be installed on a drive, retry doing a wipe first, or use diskpart to clean the card. This usually happens if you’ve been using the card for anything not Windows standard, like in a previous MiSTer installation or Linux formatted or partitioned.
You should end up with this:
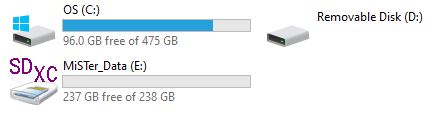
Here, the E: drive is the MiSTer config data. The D: drive appears here as unformatted, but it’s actually a Linux format and for the Linux subsystem, so leave it alone.
This is where my guide diverges from the official wiki as I do not create any directories for games etc. This will be taken care of later.
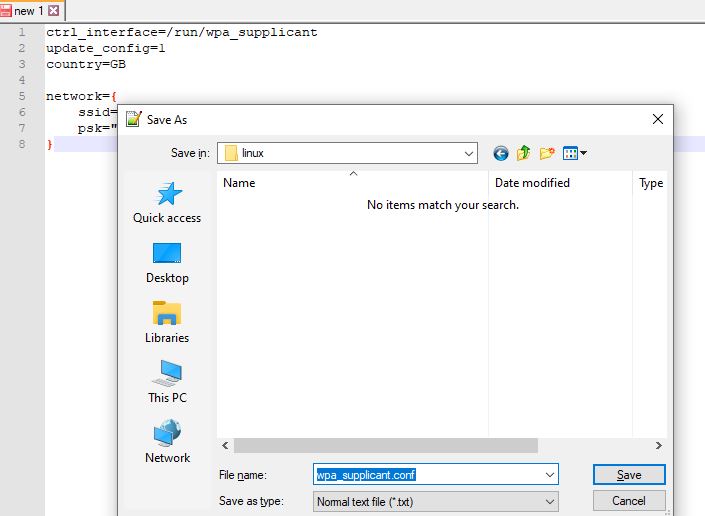
At this point I would want to make sure my network is going to function, so using Notepad++, not Notepad, I create a new text file. In it I put:
ctrl_interface=/run/wpa_supplicant
update_config=1
country=GB
network={
ssid=”WIFINETWORKSSID“
psk=”WIFINETWORKPASSWORD“
}
Obviously replacing the two variables with your own home wifi network details.
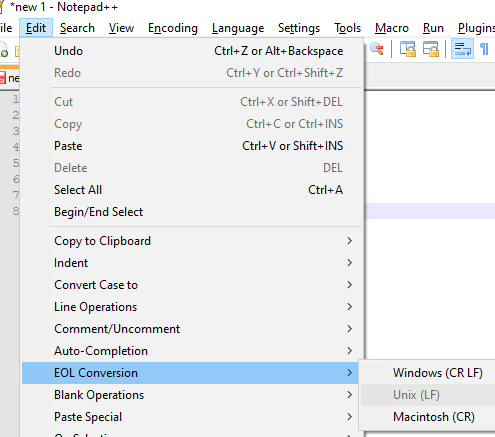
Still in Notepad++, make sure you are working in Linux formatted txt by going to Edit>EOL Conversion>Unix:
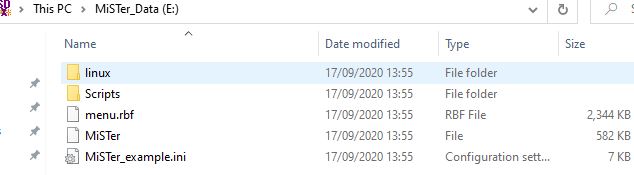
Then save the file as wpa_supplicant.conf in the Linux directory of the SD card.
Now take your card and slot it back into the DE10. Make sure you are plugged into a screen and you also have a keyboard, and switch on.
Part 2: On the MiSTer
Once you switch on, you’ll be greeted by a worrying screen!
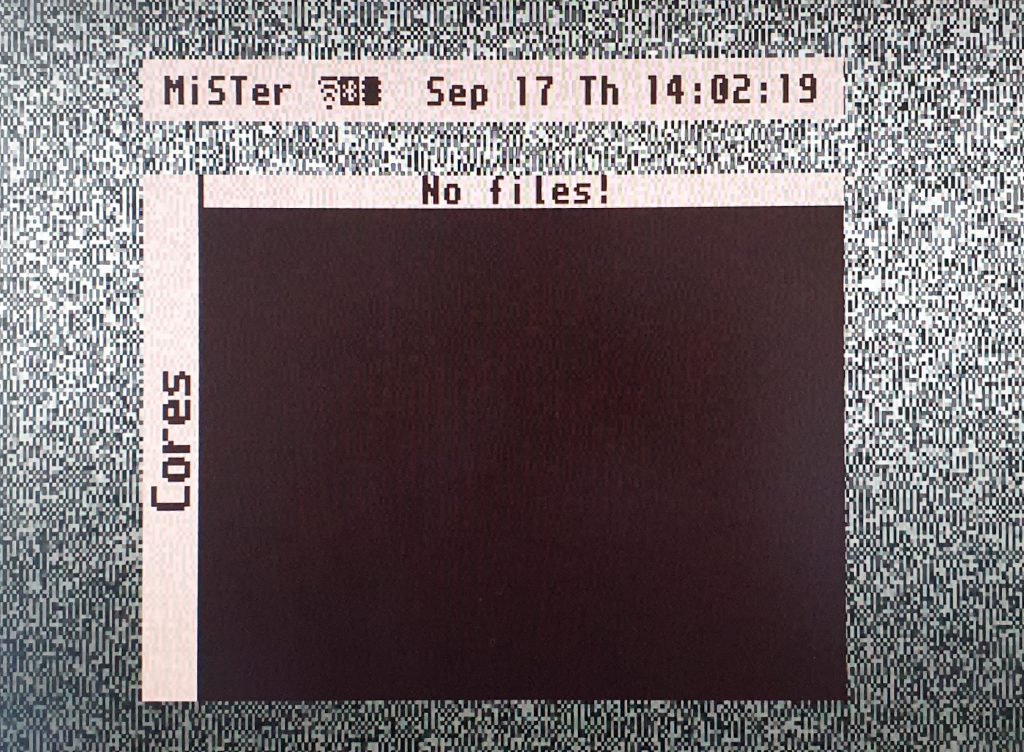
But there’s good news! The little wifi symbol at the top means your wifi is active and connected, and the bluetooth symbol means it’s available.
Press F12 on your keyboard to bring up the main menu
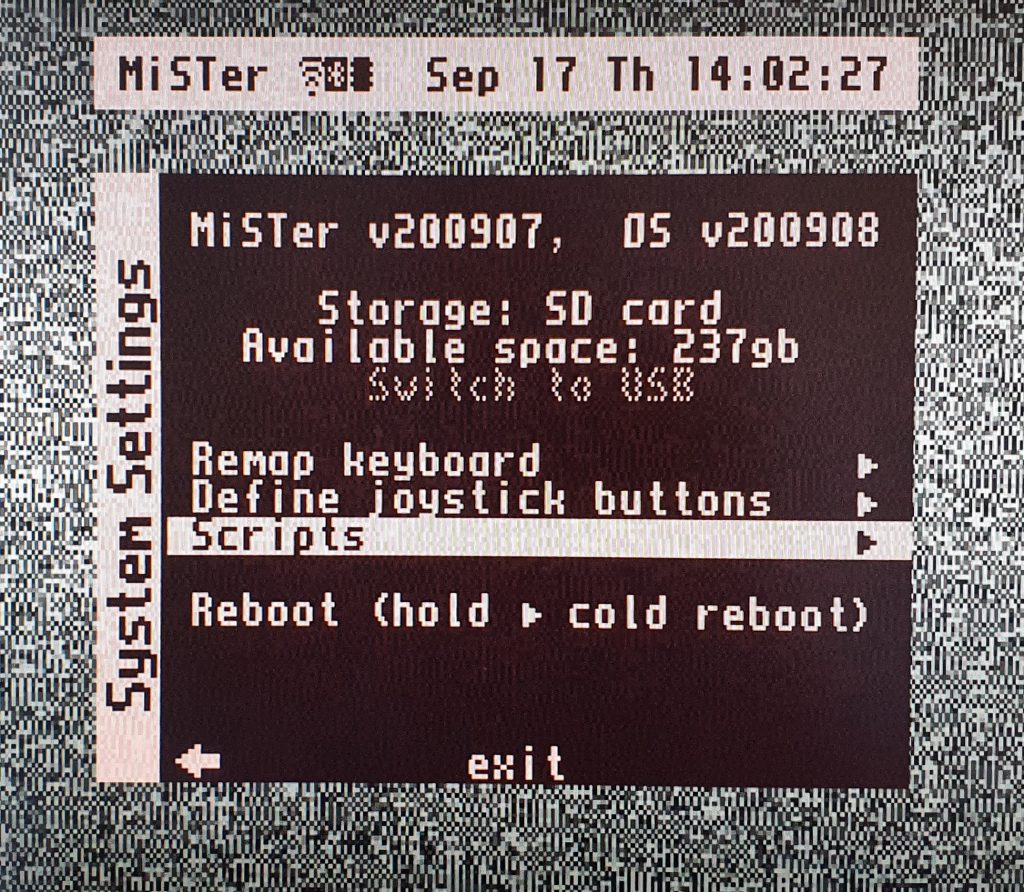
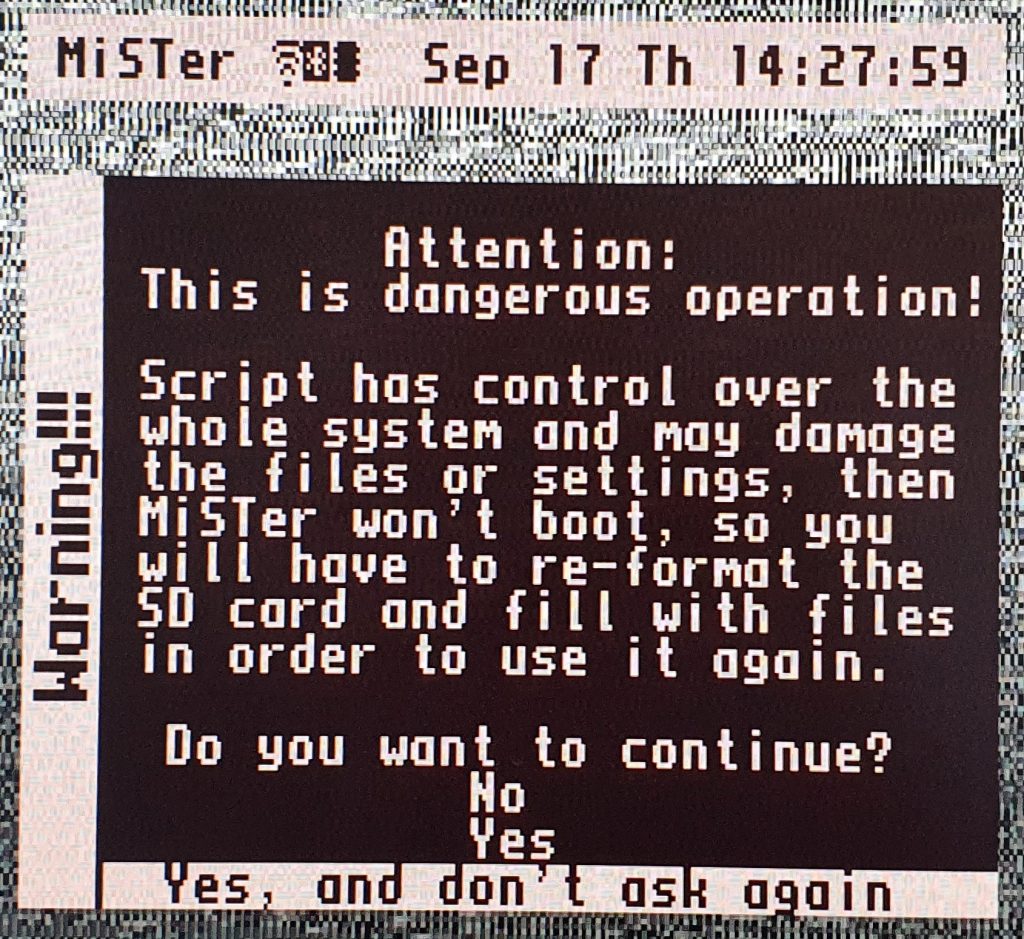
Select Scripts, and then you’ll see this warning:
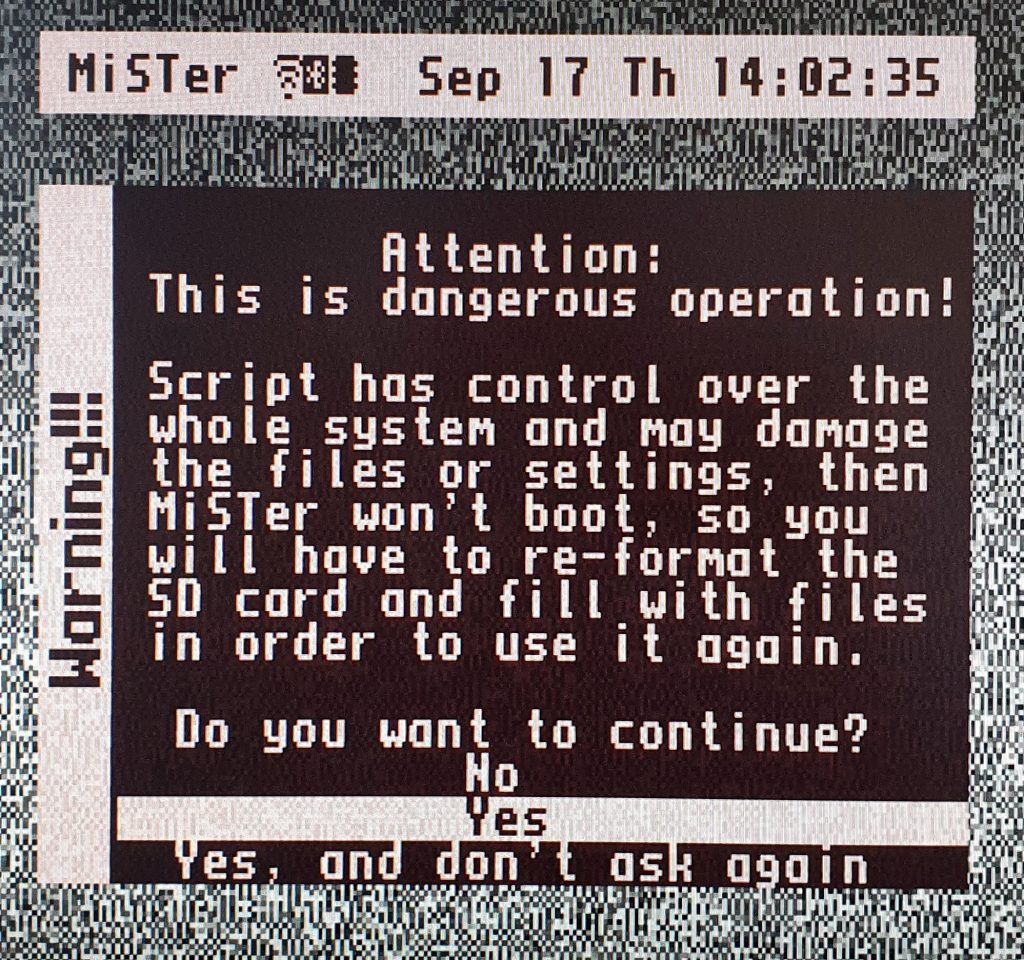
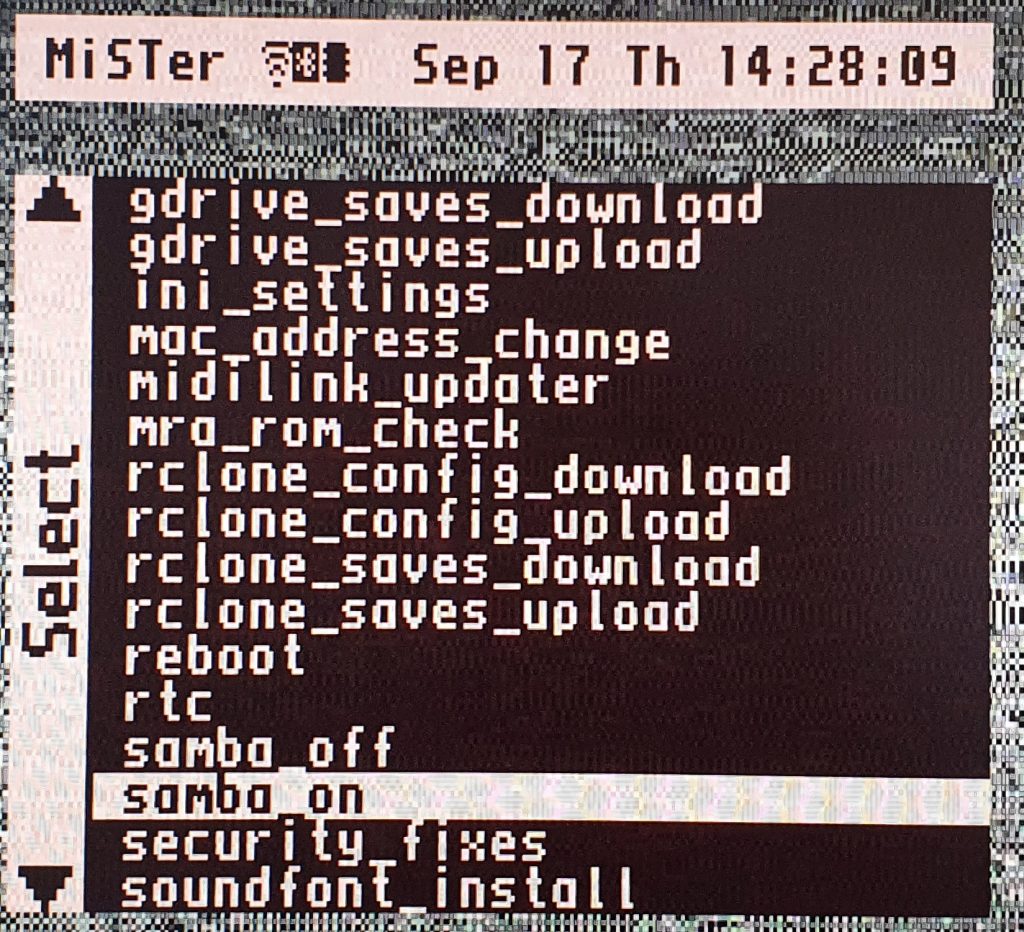
Just Yes past this and you’ll be brought to a screen listing all the currently available scripts:
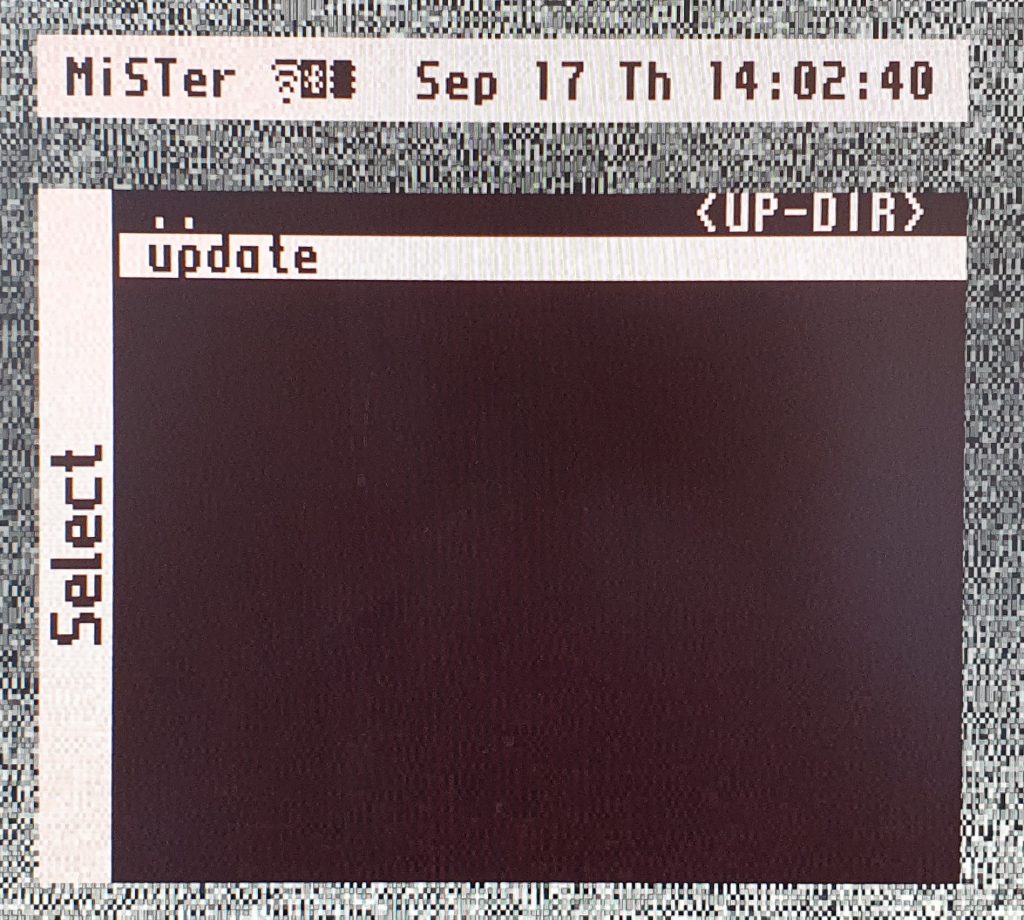
There should be one called update and that’s it. It’s a very basic script, it doesn’t do a whole lot itself. It actually goes to the MiSTer GitHub and downloads the latest version of the real update script and starts hammering through that. So, select it and your MiSTer will go do it’s thing for the next 15mins or so:
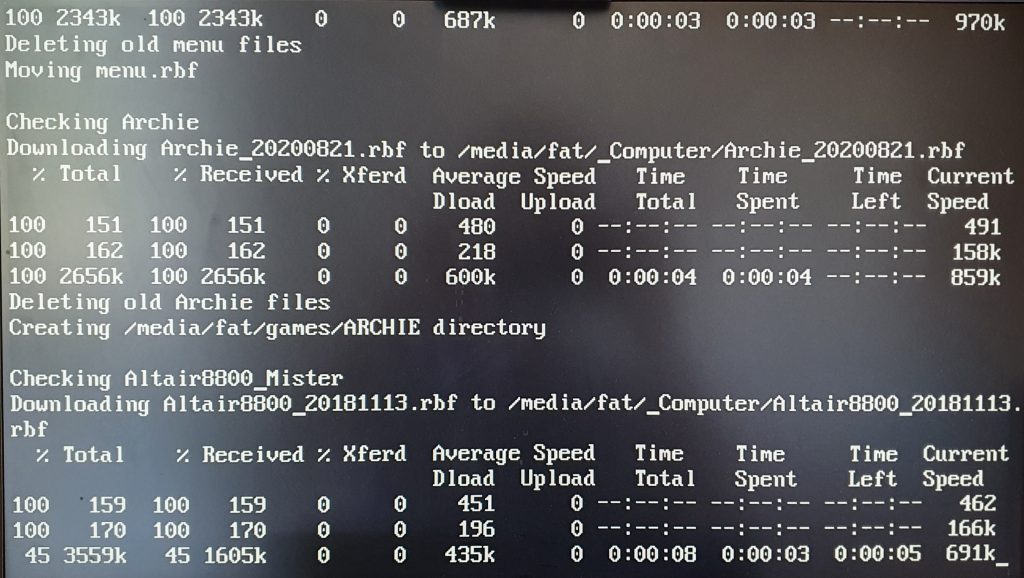
It pulls down the latest versions of all available cores, menu system, MiSTer build itself, but no ROMs or games themselves. That’s your shout and I’ll get on to that later.
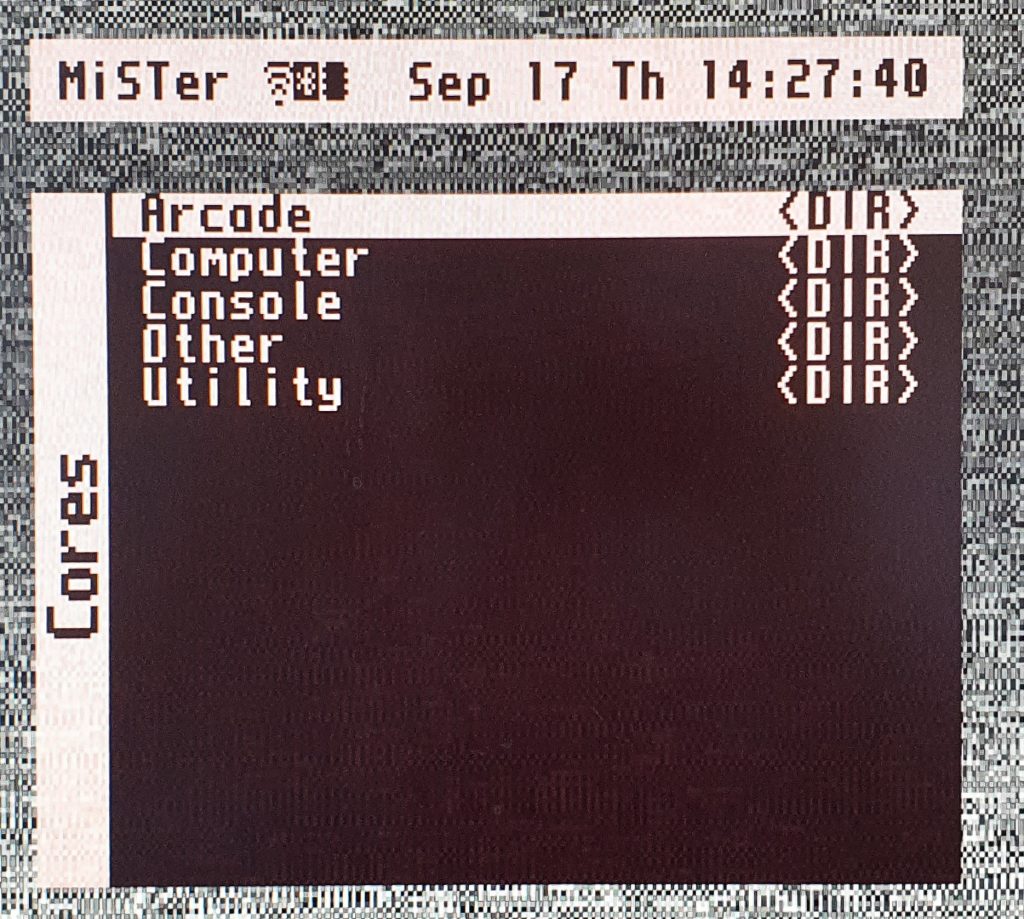
One reboot later and that menu starts looking a lot healthier:
Hit F12, go back into Scripts. This time, get rid of the warning permanently. You’ve been told there that messing with the scripts can break things, I’m telling you messing with the scripts can break things. Messing can break things.
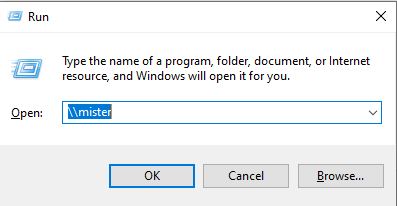
As a Windows user, I want Samba access. I want to be able to navigate to \\mister and just dump over whatever I want from the comfort of my sofa, so switch that on:
Only necessary if you have the RTC, I also set a timezone. It works out what it is from your network connection conf so there’s no guesswork over country codes.
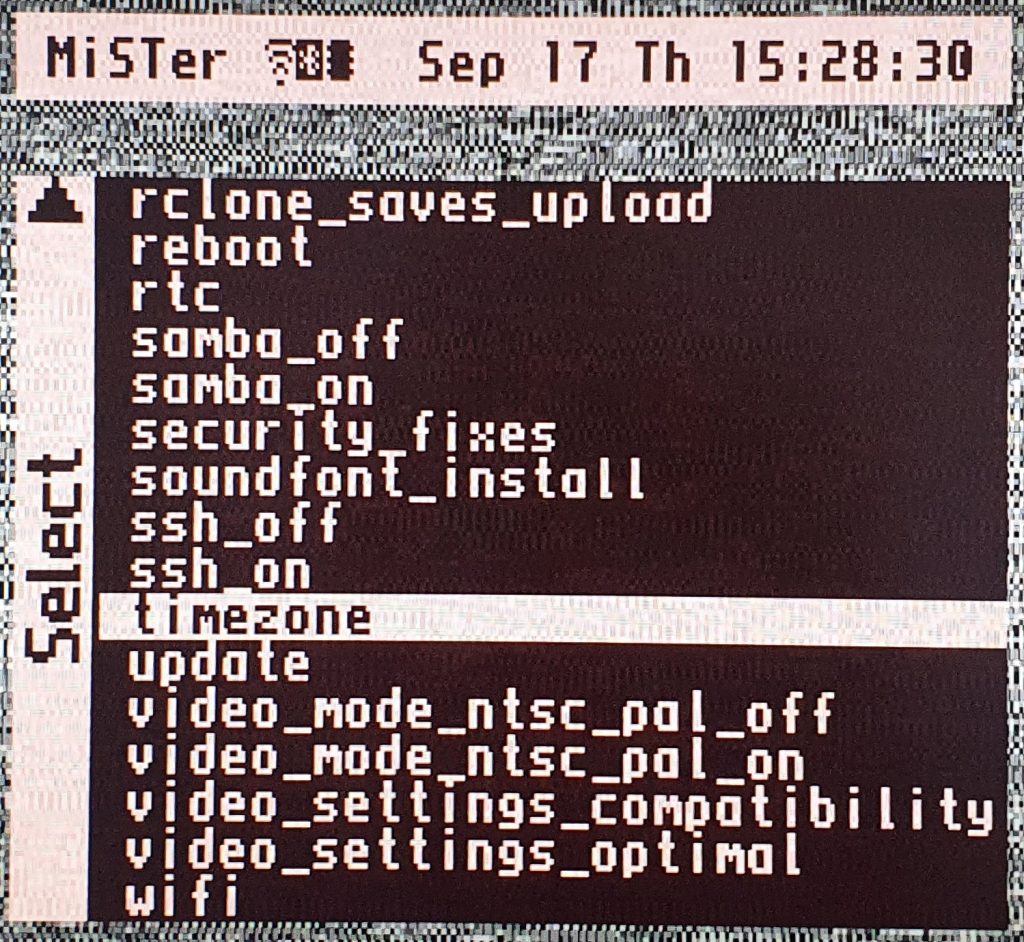
And the really important one for games:
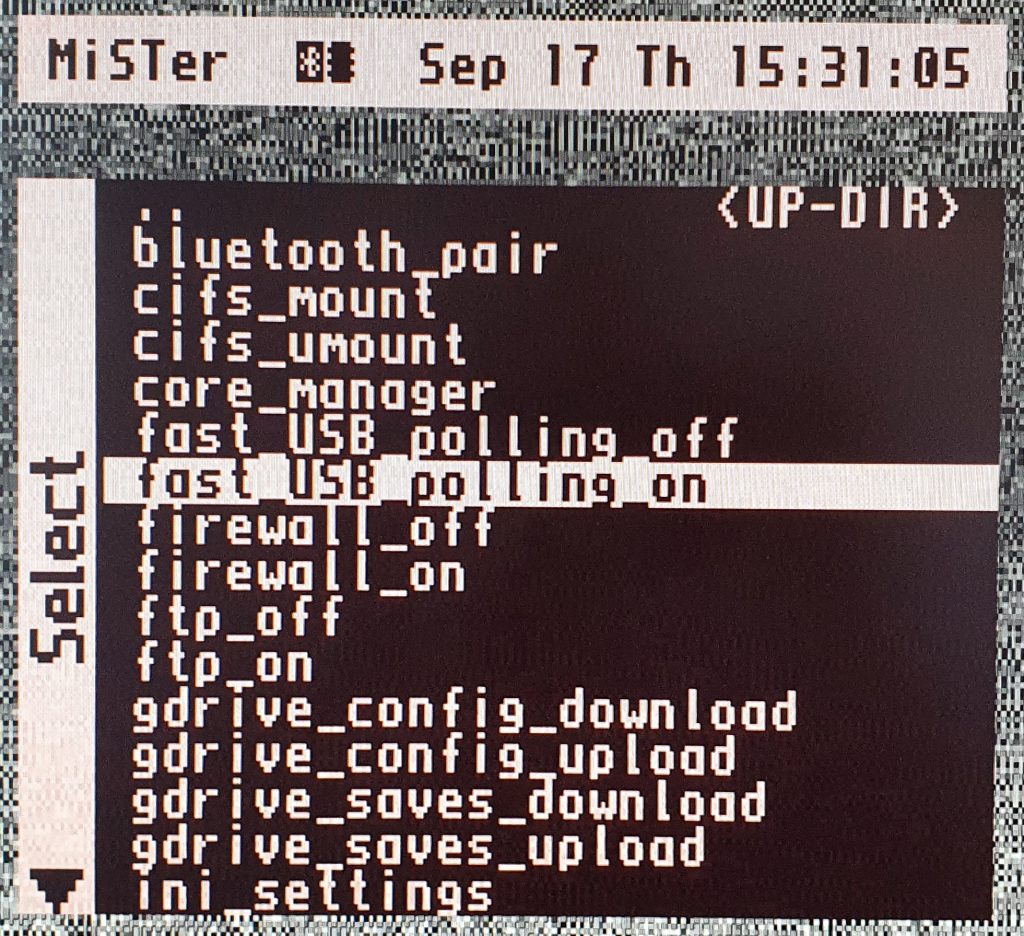
I don’t particularly need any of the other scripts. Maybe later if I want to mount games remotely and have them accessible over the network I might use the cifs_mount script, but right now the sd card is enough.
One thing to note is the wifi script. Simply setting my wifi details in the wpa_supplicant.conf file has been enough to make it work first time, every time. The wifi script on the MiSTer menu, however, has never successfully connected to my wifi. So for the sake of a single config file, I’ve just avoided the script. YMMV.
Lastly, define your joystick controls

Everything in there is obvious. Click the button you want defined as ‘down’ etc etc. This is the basic MiSTer controller config. Some cores allow controller configs specific to them, but unless you say different, this is the base config used.
(Slightly More) Automated Install
The newer, recommended install is using an image called MrFusion. This is an image rather like the ones available for the Raspberry Pi that you use a program like WinImage, dd, or Etcher to write to your card.
Part 1: On Your Computer
I use Balena Etcher (https://www.balena.io/etcher/), mostly because it’s what a lot of RasPi guides use and so I’ve used it a fair bit.
You’ll also need the latest Mr.Fusion image from https://github.com/MiSTer-devel/mr-fusion/releases
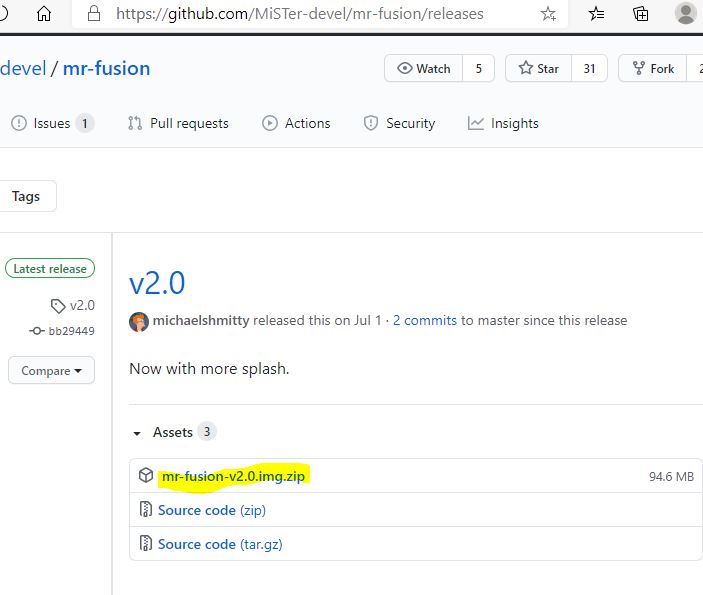
Grab the zip file and expand it to a known directory.

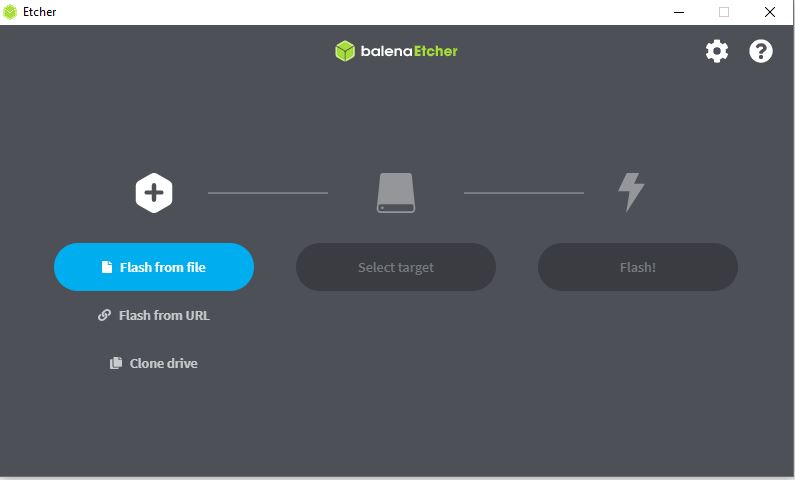
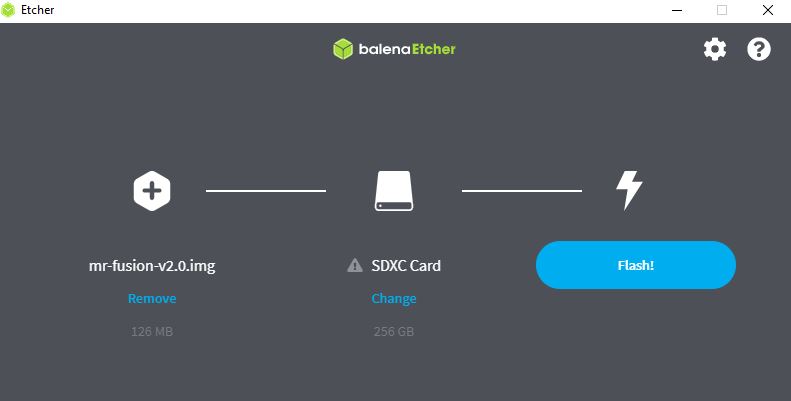
Fire up Etcher and select Flash From File
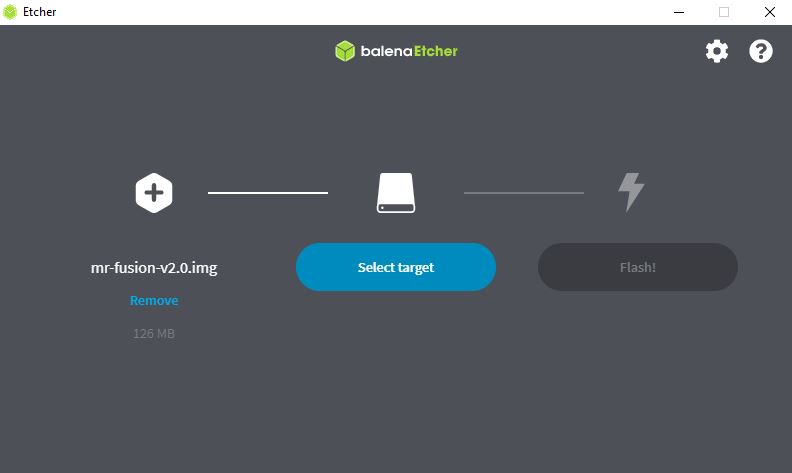
Select the MrFusion img file you expanded earlier. Then click Select Target and tick your SD card
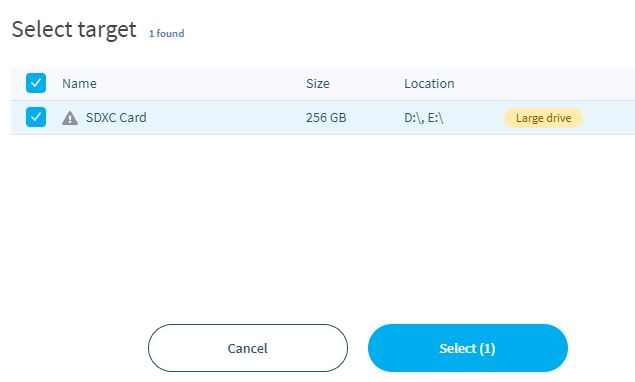
Then click Flash
And wait while the image is written to your card. At this point you may notice your SD card is no longer reporting the size it should be. This is normal behaviour when writing an image, so don’t worry. This will be fixed in a bit. Eject the SD card and move over to your MiSTer.
Part 2: On The MiSTer
Insert your SD card into the MiSTer and switch on. You should see video output from your MiSTer and a splash screen
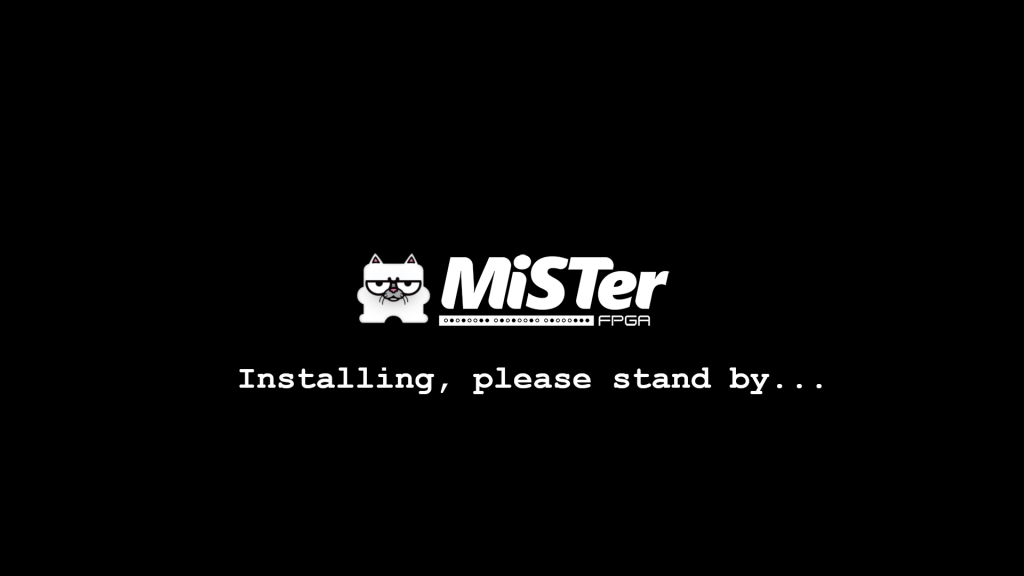
This screen should sit there for a minute or so. In the background, the Mr.Fusion image is repartitioning your SD card so it is full, basically much the same as we did in the previous method with the MiSTer SD Card Installer.
Your MiSTer will eventually reboot and you’ll find yourself sat at the MiSTer menu screen just as in the previous method. From this point the setup is the same. Run the Update script, run USB fast polling etc.
My only exception to this, again, was the wifi configuration script did not work for me. I did have to put the SD card back in my computer to manually feed it a wpa_supplicant.conf file, then I was good to go.
Remote Access
So, now your MiSTer is built, your MiSTer SD card is built, you’re ready to go. Double check you can actually access it across your network as that’s what we’ll need a fair bit next.
If you are prompted for a username and password, it is:
username root
password 1
You should now see the smb share on your MiSTer:
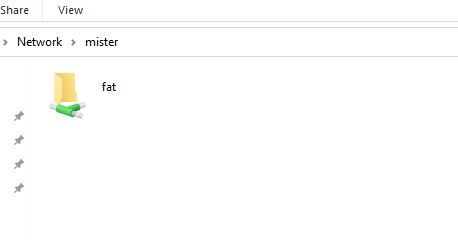
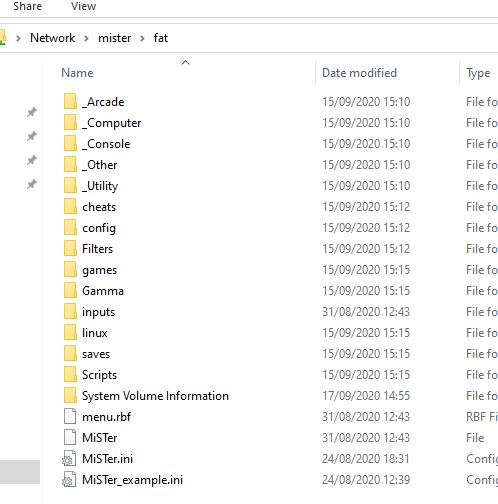
As you can see, the installation process, whether SD Card Installer or MrFusion, has already created all the directories you need. You can remotely access the shares and drop over whatever you like. So, that’s what we shall get to next.
Just as a heads up, your blocktext of instructions to copy to wpa_supplicant.conf has those fun “windows smart quotes.” (”“ instead of “”) Not sure if Notepad++ realizes it has to convert those when saving or not.