Start by taking your MiSTer. Look at it, pick it up, caress it, tell it not to worry it’ll be OK. Then put it down and leave it alone because there’s a fair bit to do before you actually get to use it again.
In this guide you will be creating an A1200 based Workbench 3.1.4 vHD image on a Windows machine. Change as per your requirements.
Requirements
Firstly, I would strongly advise the purchase of the newest version of Workbench 3.1.4 with the required ROMs. Details are available from Hyperion AmigaOS 3.1.4 (hyperion-entertainment.com)
Edit: As of May 14th 2021 OS 3.2 is available. I’ll continue with 3.1.4 and do an addendum for 3.2 when it arrives.
Why? Well, you’d be supporting the community, and that should really be enough.
Also, there’s a load of improvements in 3.1.4 vs the much older 3.1 that are genuinely useful even when not used in a ‘real’ Amiga, specifically native large disk support, upgraded hard disk tools, and improved shell.
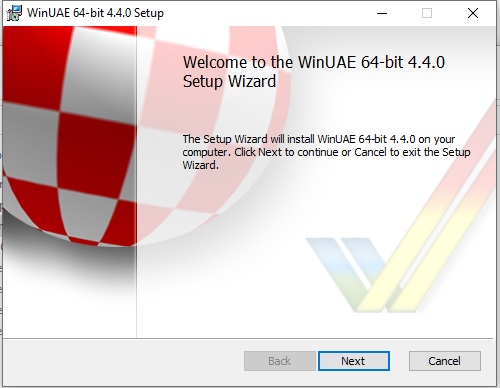
Secondly, you will need to download and install WinUAE (Download | WinUAE Amiga emulator). This will prove a useful tool in a variety of circumstances so it’s worth keeping installed even when done.
WinUAE Setup
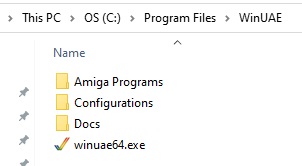
Installing WinUAE is as simple as Next Next Install, the defaults are fine. WinUAE installs to c:\Program Files\WinUAE:
Now for convenience, we’re going to drop required files into convenient locations.
You get a few files by default with the 3.1.4 downloadable package, copy/expand these into the WinUAE directory
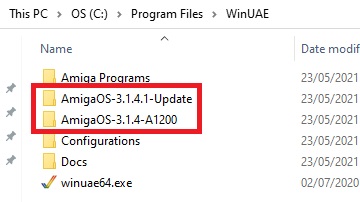
The AmigaOS-3.1.4-A1200 directory contains the new version of Workbench as well as images of the new 3.1.4 ROMs. The AmigaOS-3.1.4.1-Update directory contains the ADF for the 3.1.4.1 update.
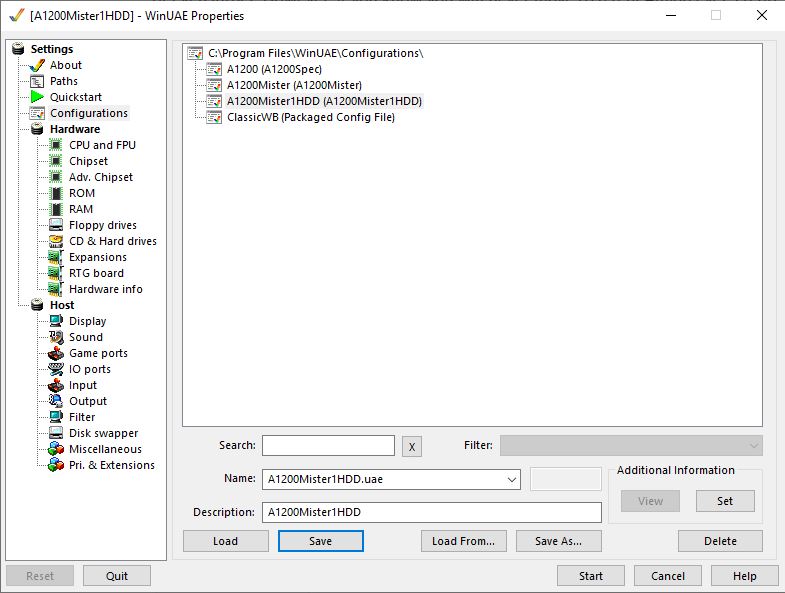
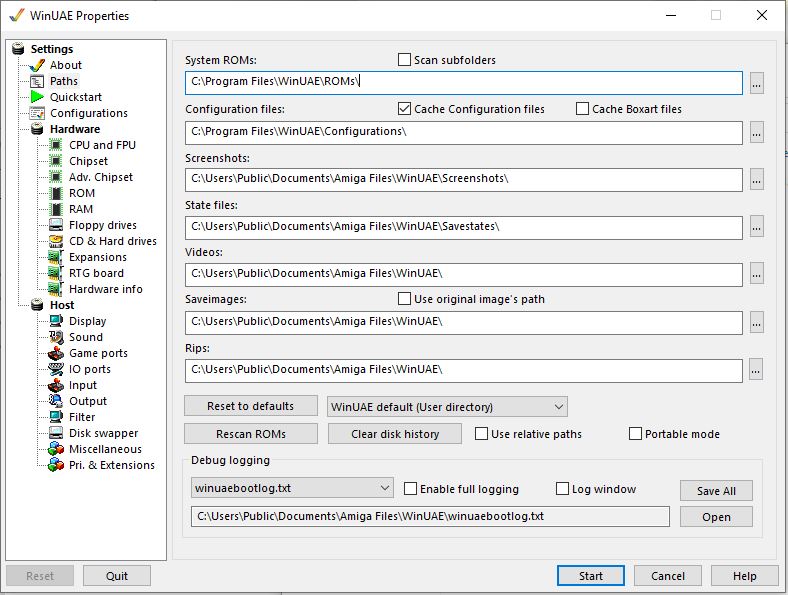
Once installed, run WinUAE as Administrator (if you choose to dump your files to an unprotected location like c:\Amiga, you won’t need to do that) and select the Paths tab and input values that make life more convenient, so for example here I’ve changed the configuration and ROMs paths to the same path as the WinUAE installation and created a ROMs directory for the firmware:
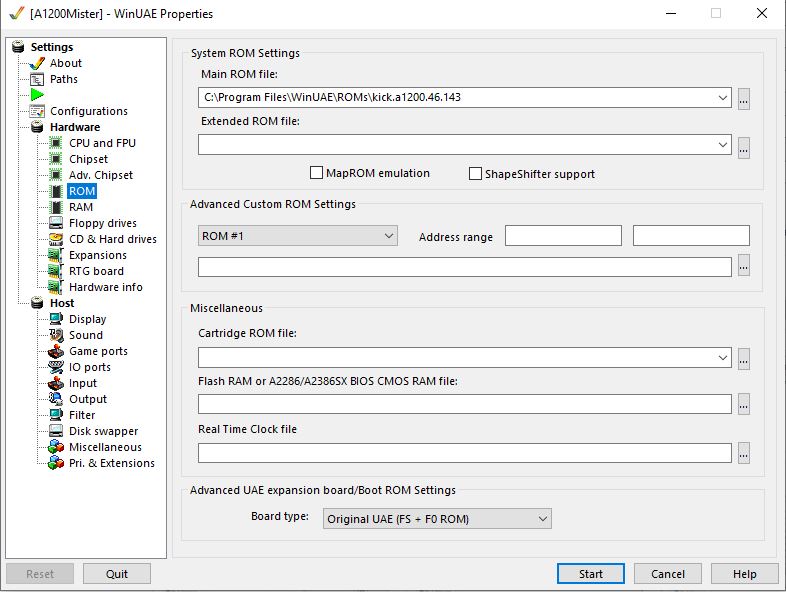
Now we configure the A1200 base hardware:

CPU and FPU Chipset Adv.Chipset
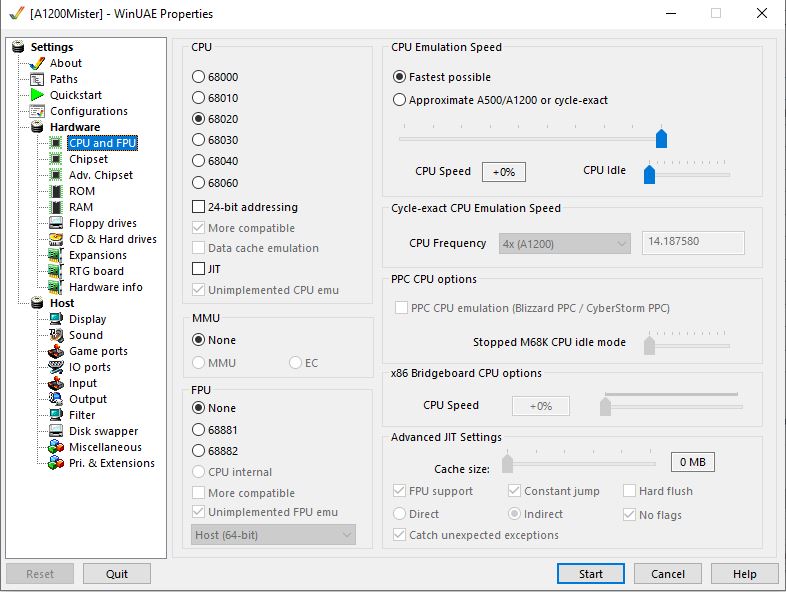
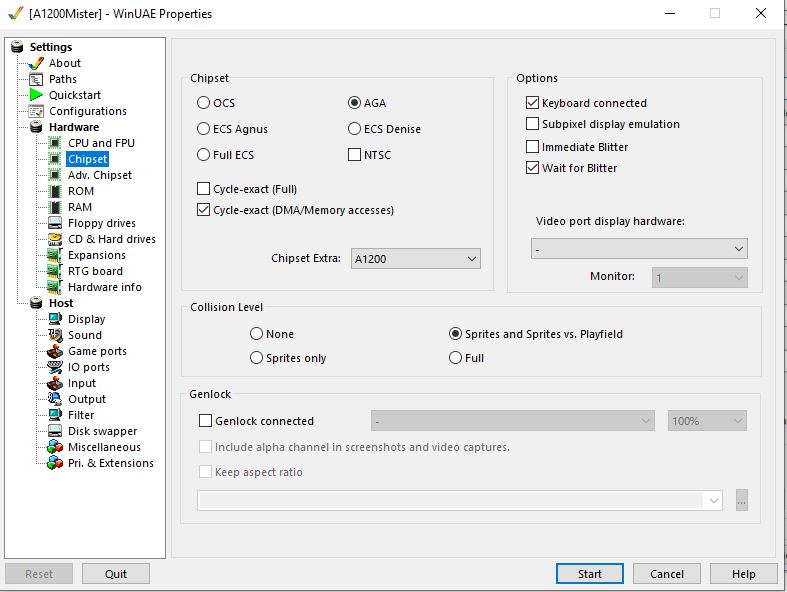
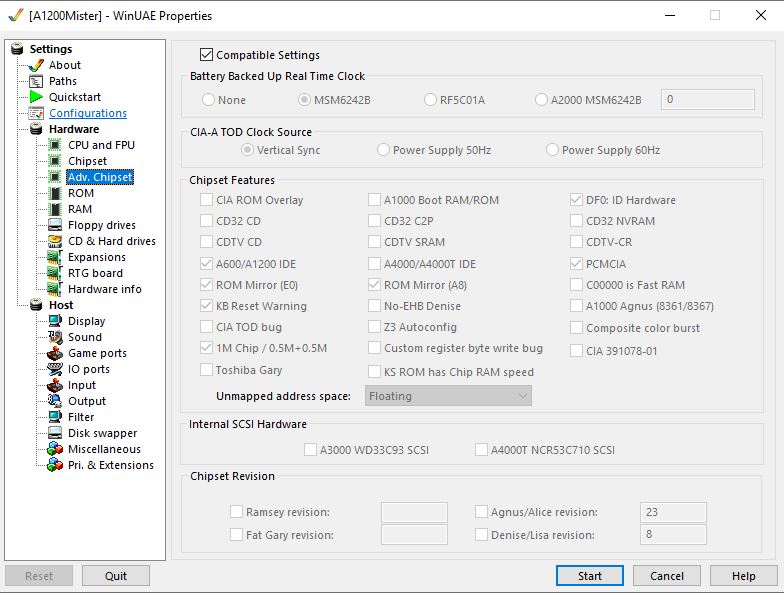
ROM RAM

Why: This is basically a moderately expanded A1200 and similar to what the MiniMig core on the MiSTer will appear to be. It’s using the newer firmware, has a moderate 16MB RAM expansion, which is more than enough for games, and stock 68020 processor.
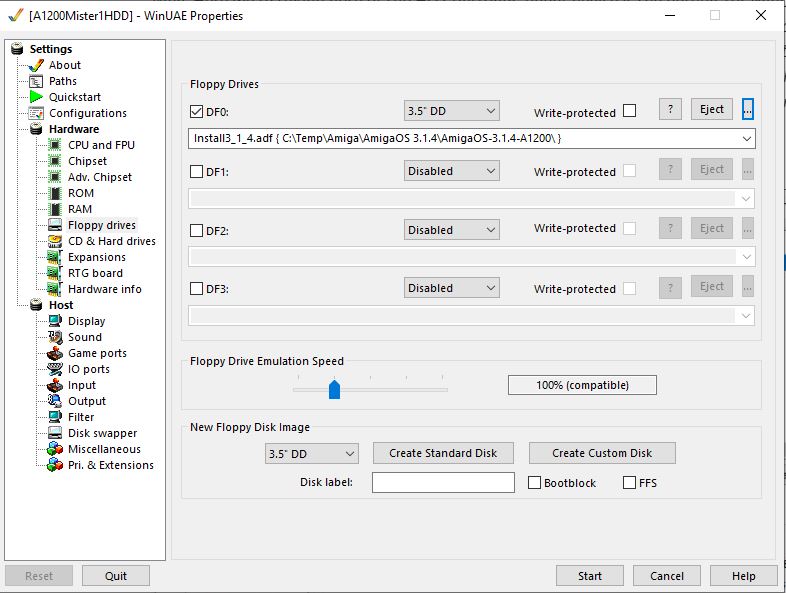
Go to the Floppy Drive tab and select your Install ADF. This is the first floppy you will be booting from:
Now select the CD & Hard Drives tab and we’ll create a HDF file. This is a virtual Amiga hard disk and will be our workspace for our new Amiga install:
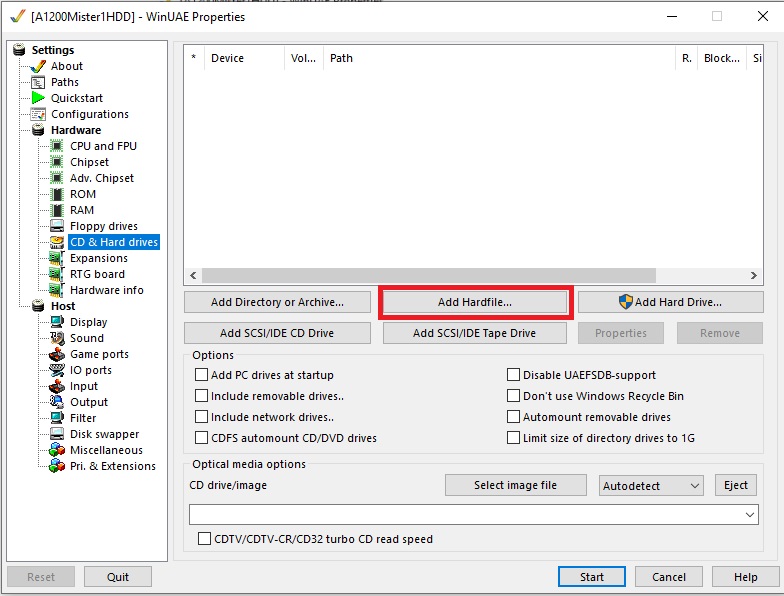
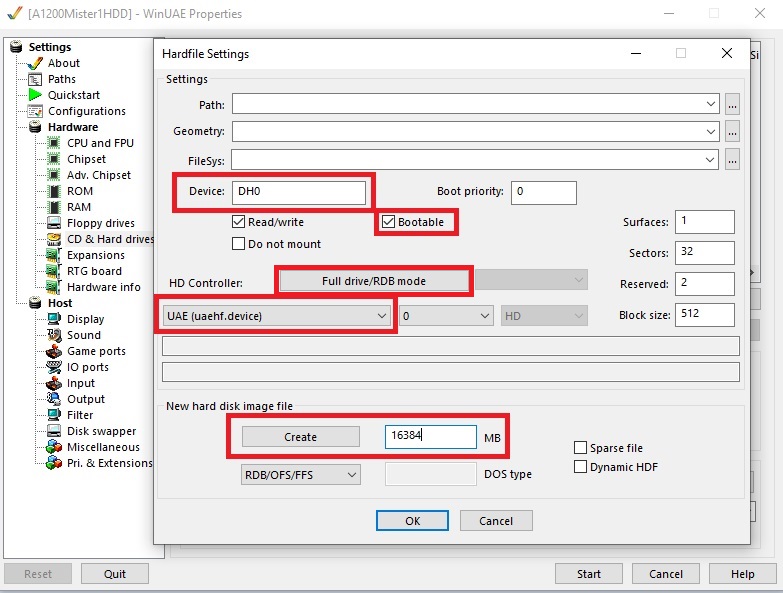
Click Add Hardfile
Input the Device ID, which would be DH0 for the boot Amiga HDD. Make sure Bootable is ticked. Pick a drive size and click Create. Click Full Drive/RDB Mode. Repeat for DH1 if you want a second drive.
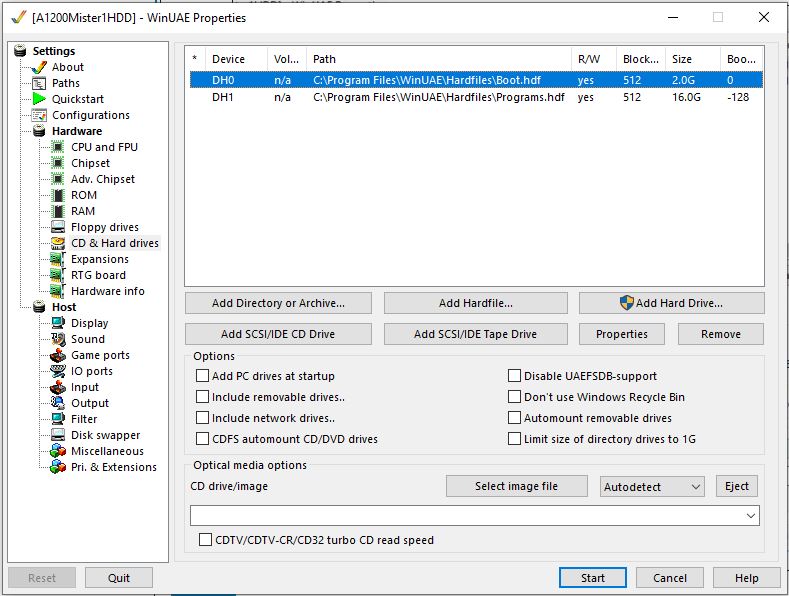
Why: Here we’re taking note of the HD Controller. uaehf.device is the default for WinUAE support, and while we’re not changing that yet, we’re taking note of where it is. Also we have choices when it comes to drive configuration. Above, we’re creating a single 16GB drive image. The intention here is that if we should ever choose to move this install to a real Amiga, writing off a single HD image with multiple partitions to a single CF or SD card is just simpler. Given enough local storage you can make it a 32 or 64GB image, or even larger. However, if you know you will never move to a real Amiga ever, or if you do you’ll start from scratch, create two image files, one small, like 1-2GB but bootable, and one as big as you like, but not bootable.
Two drives, one bootable, one not
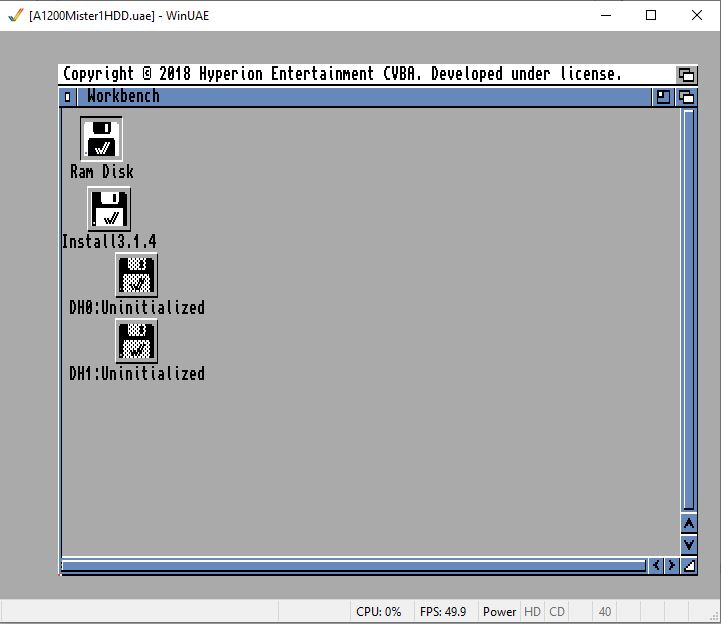
Head back to Configurations and save your work. Tap that Start button and wait…
Boom