
So you’ve got all these disks itching to go, booted into your Amiga in WinUAE, and you’re faced with the old, familiar grey Workbench UI.
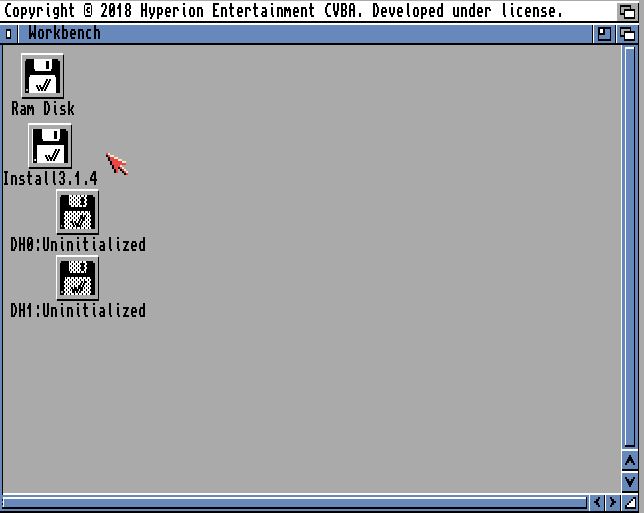
So, if you followed the previous page you should be somewhere around here:

Or thereabouts
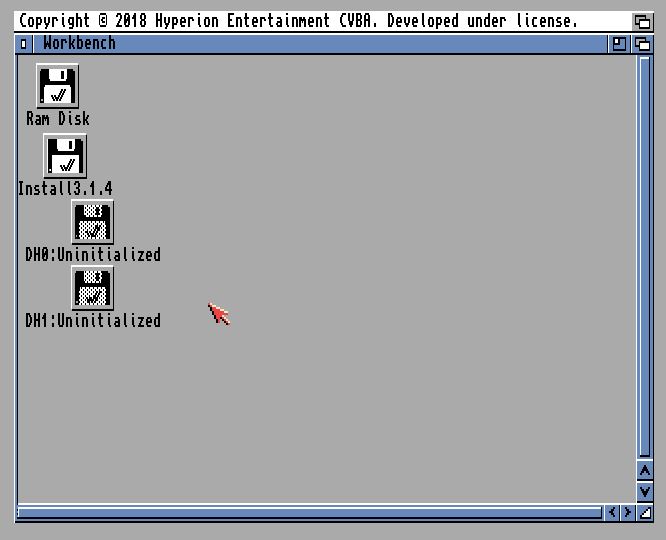
There’s the Install ADF you booted from, and DH0 and DH1 HDD virtual drives you created before. If you do not want to partition drives, jump straight to Formatting
Partitioning
Now we perform some magic. Open the Install > HDTools > HDToolBox and copy the contents to the Ram Disk:
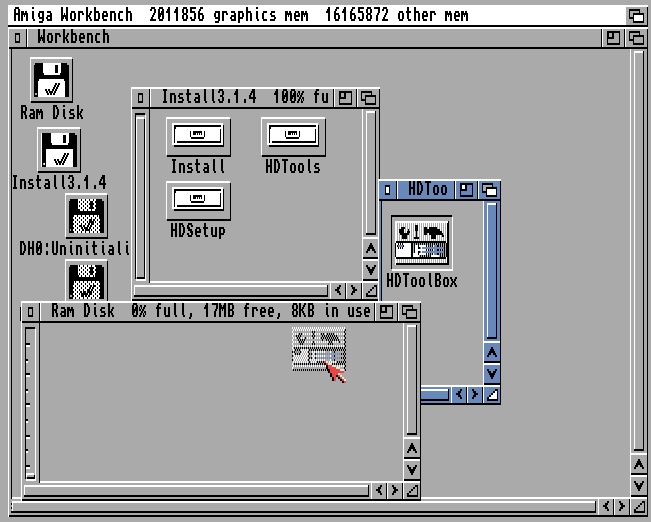
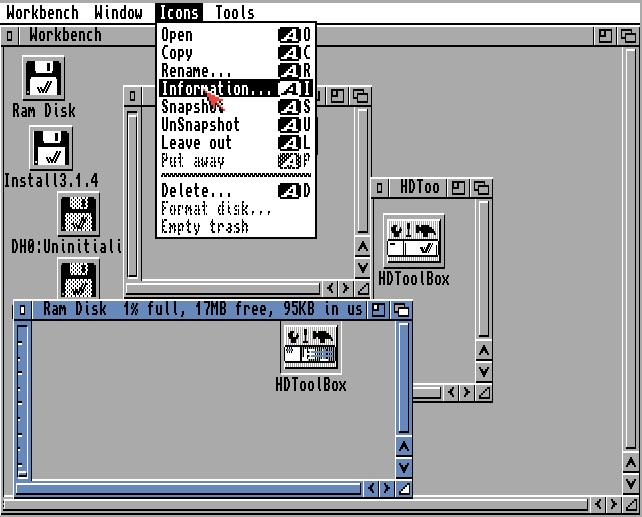
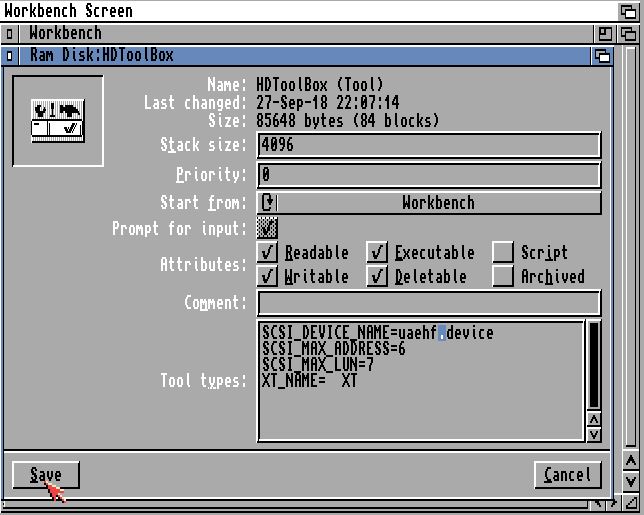
Single left-click the copy of HDToolBox in Ram Disk, then hold right click to bring up the menu bar and select Information, bringing up the properties for HDToolBox:
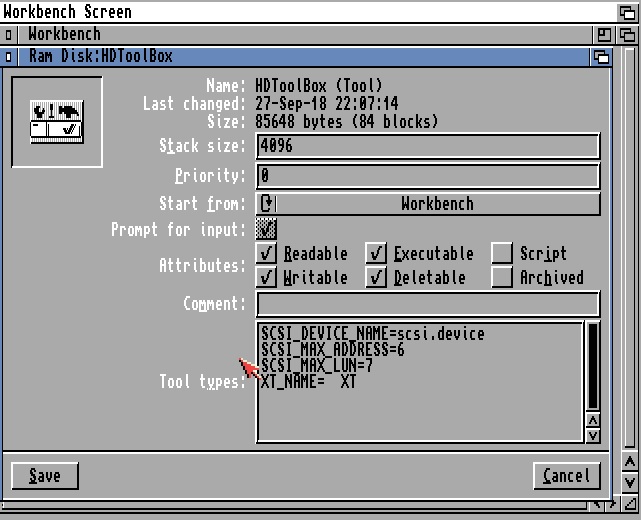
Note the SCSI_DEVICE_NAME tooltype? We need to change that to the controller used by UAE. Simply delete scsi.device in the Tool types box, type in uaehf.device, and click Save:
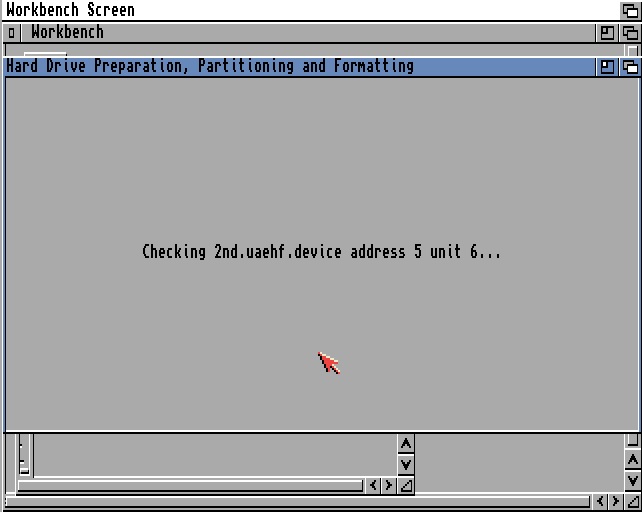
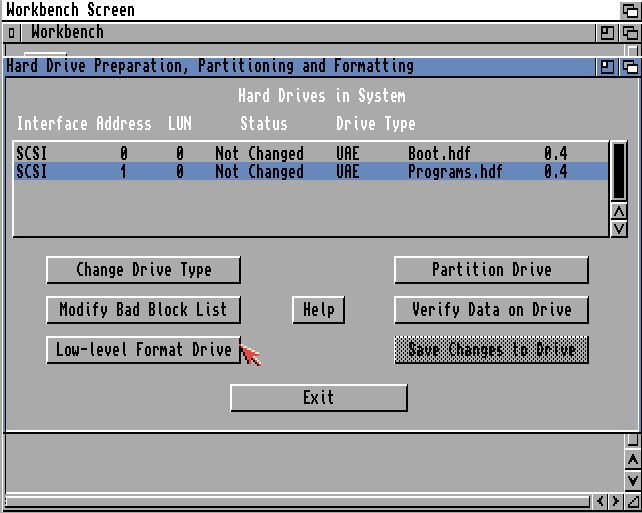
Now when you run HDToolBox, it’ll enumerate all the uaehf devices present and display them. These are your virtual drives:
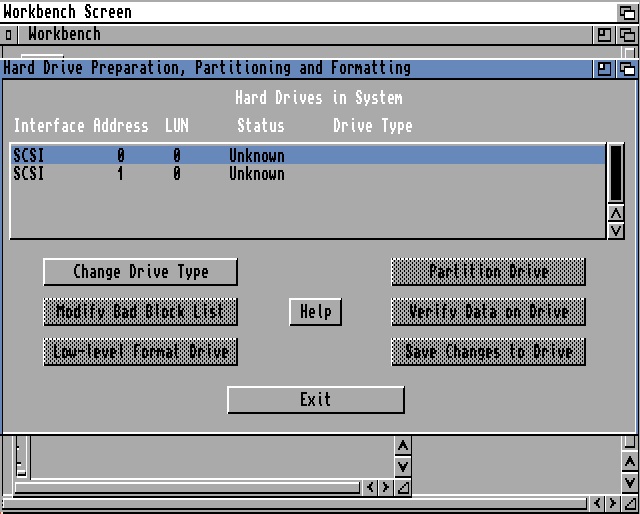
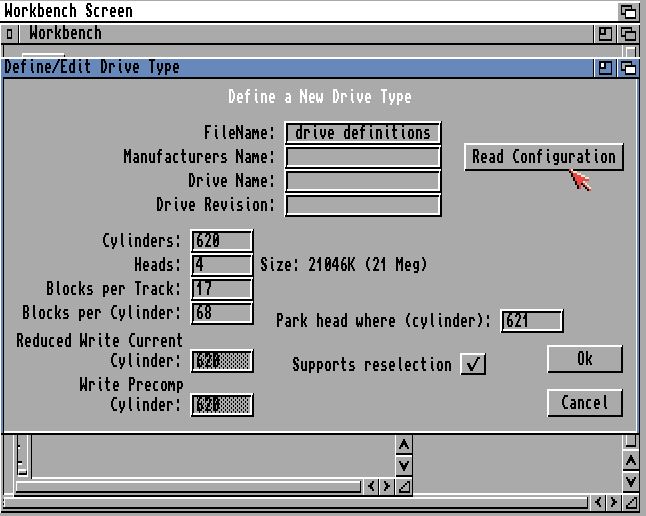
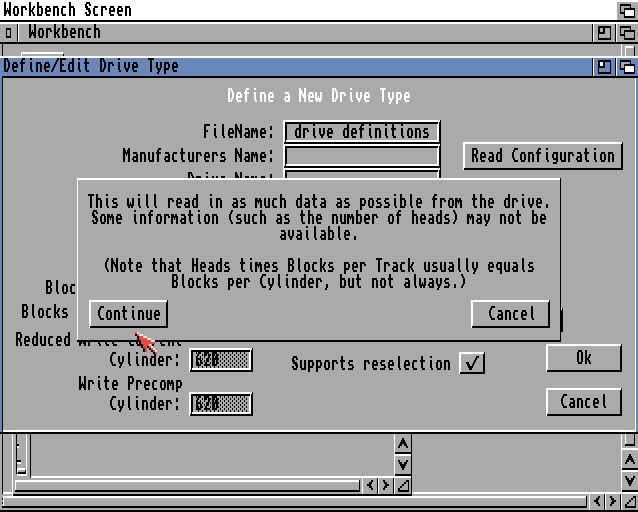
The two, or one, depending on how many drives you set up in the last step, correspond to DH0 and DH1. Select the drive at address 0, which would be DH0, select Change Drive Type, Define New, then Read Configuration, and Continue:
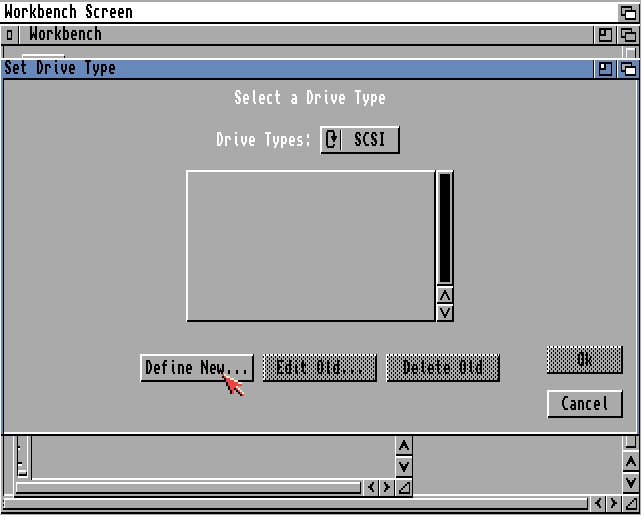
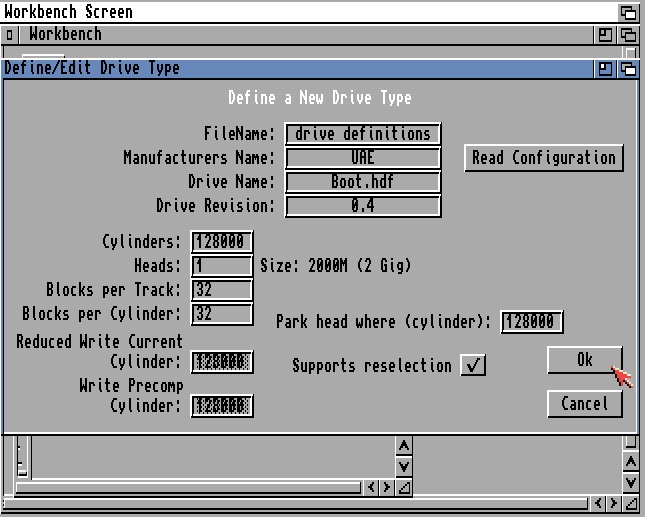
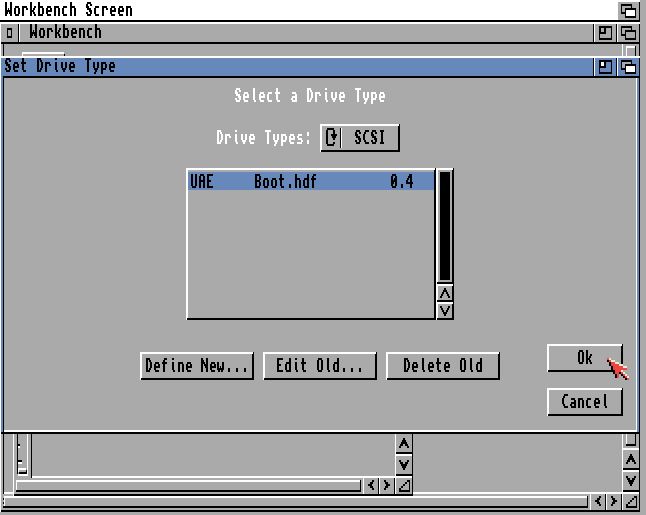
Clicking OK brings you back to the Set Drive Type screen, and clicking OK from there takes you back to the Prepare and Partition menu, where you can now see your DH0 drive make a lot more sense:

Run through the same process above for your second drive if you have configured one.
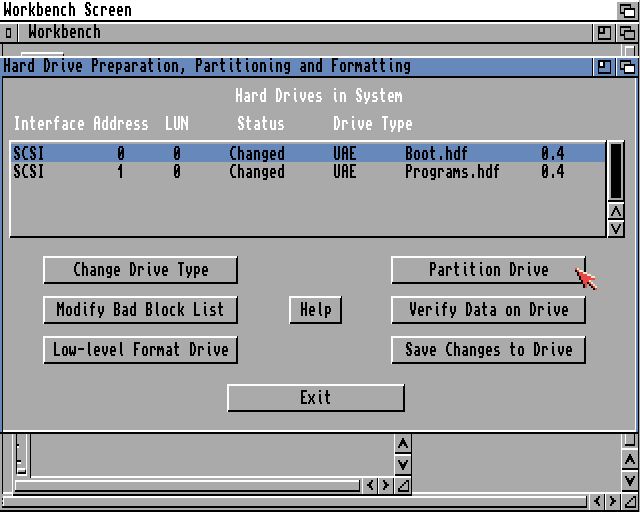
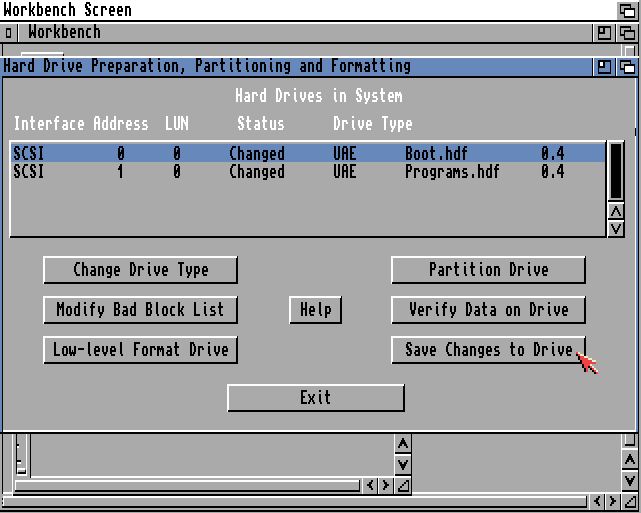
Click Save Changes to Drive. You will know if you have been successful if the drive status goes from Changed to Not Changed.
If you have configured one large drive you may wish to partition it into smaller ones. This is done at this point. I will partition my boot.hdf in two here as an example. Either way, you’ll need to either partition in two, or drag the slider to create one large partition.
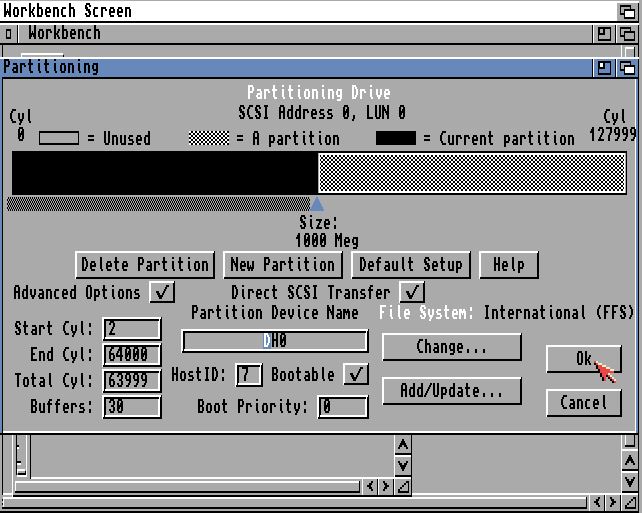
Highlight your drive and click Partition Drive. This brings you to the Partitioning tool:
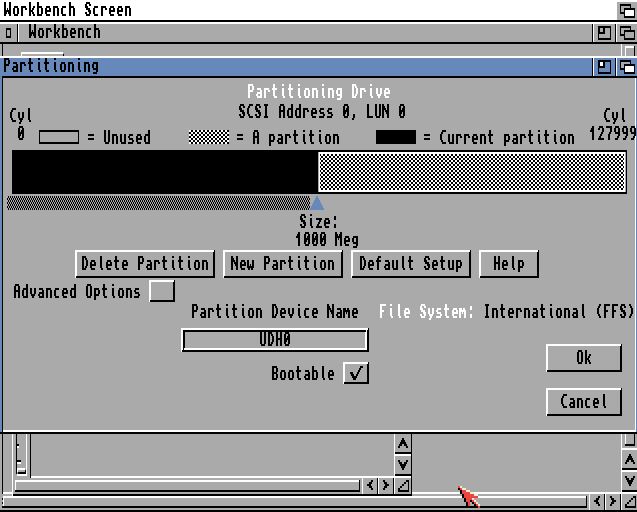
Select the black bar on the left. This is what will be the first active partition, most logically DH0 and your boot drive, so that is what we will name it. If you need one large partition, select the right hand side partition, delete it to create unused space, and drag the small blue triangle slider to the far right. This slider lets you vary partition size however you like.
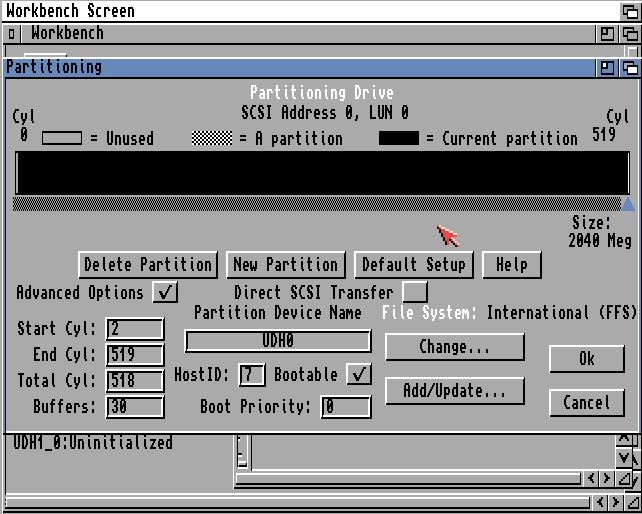
While here, tick Advanced Options and enable Direct SCSI Transfer, and just make sure the Bootable button is ticked:
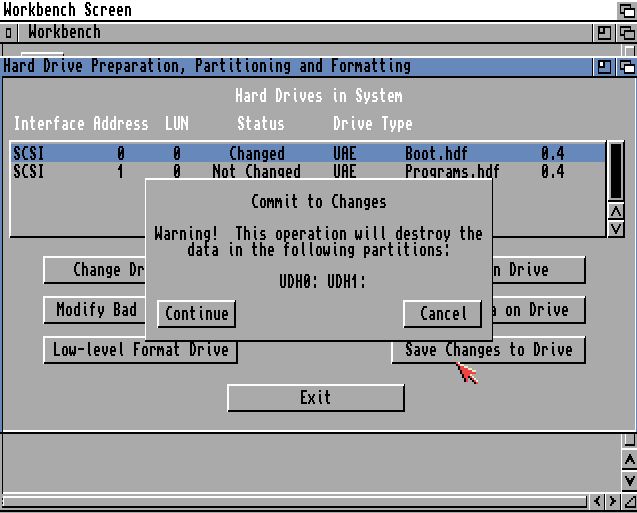
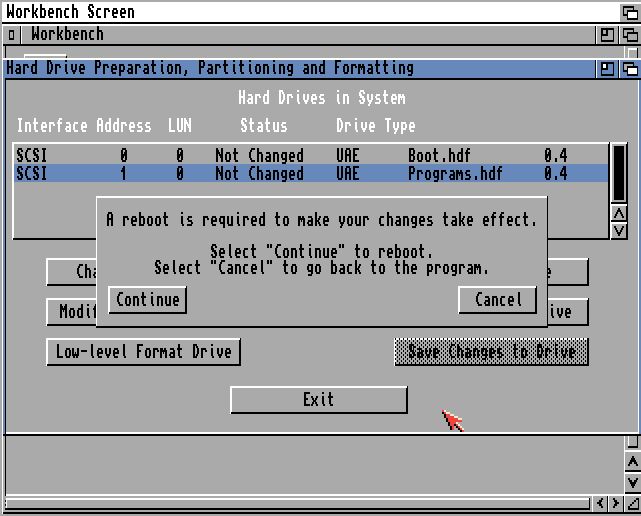
Now select the partition on the right, name it DH1, select Direct SCSI Transfer, and make sure Bootable is NOT ticked. Click OK, and then Save Changes, Continue, then agree to the reboot:
So that’s partitioning. From here on I will continue using single large partitions, but you chose whatever configuration suits you best.
Formatting
After rebooting you’ll find yourself back on the Workbench screen, but with uninitialized drives now visible.
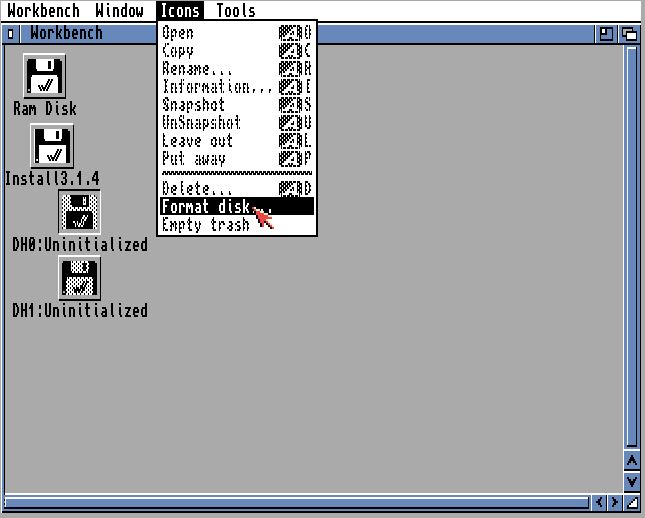
Left click on DH0 to select it, hold right click and go to Icons > Format Disk. Change the name to your choice, leave the defaults and click Quick Format:
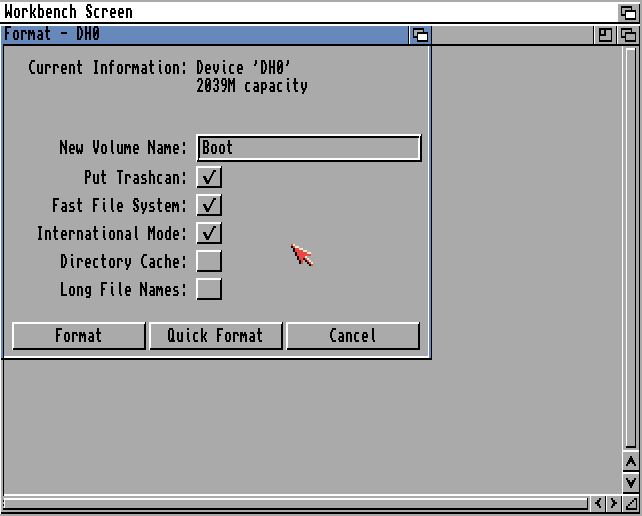
Directory Cache speeds up directory access, at the cost of not being accessible by any version of Workbench before 3.0. Long File Names does what it says on the tin. For the sake of speed I’d select Directory Cache.
Now we’re finally ready to get cracking.